Decorating styles
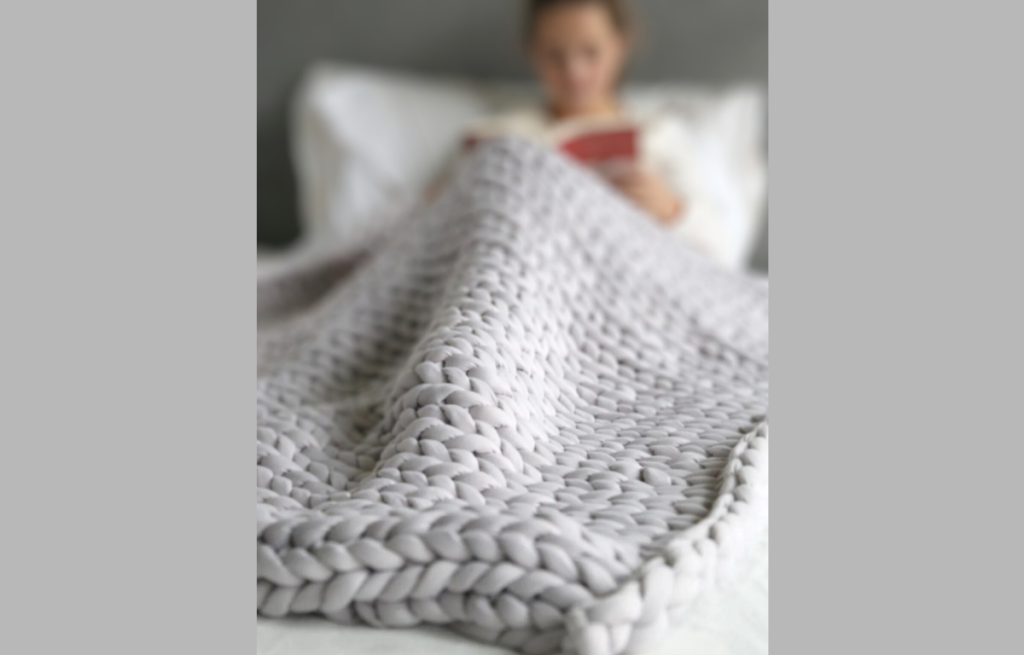
Giant Knitting Blanket Without Needles
Currently, giant knitting is considered one of the biggest trends in the world of knitting and decoration, and many people are venturing into the technique to create their own pieces.
Advertisement
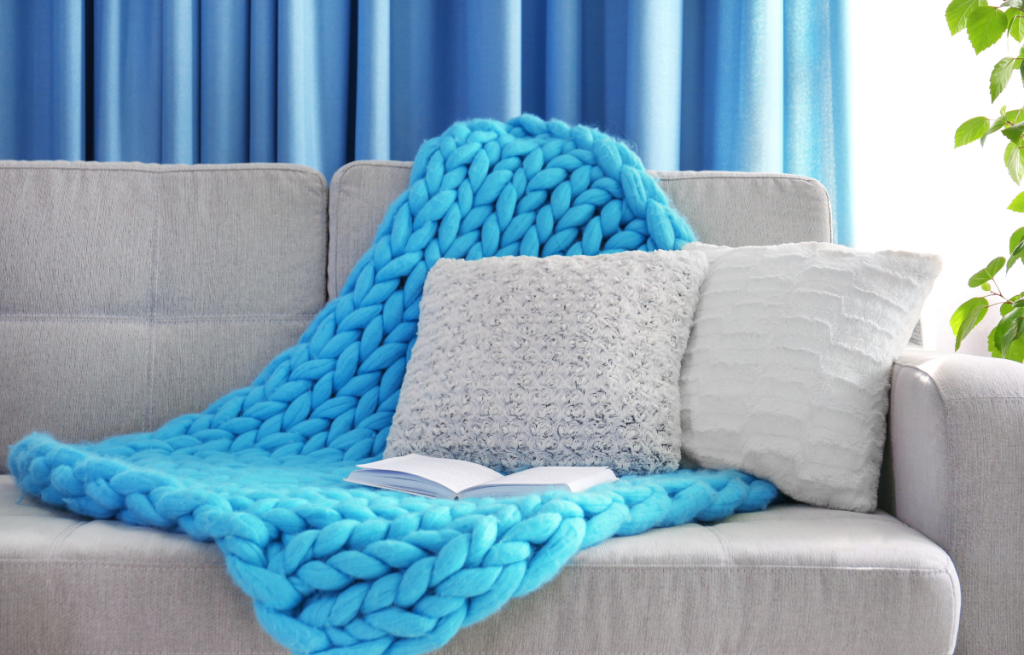
Giant Knitting, Maxi Tricô or Maxi Crochê is a technique that has gained more and more popularity in recent years. This is a technique that uses thick threads, without the use of needles, resulting in voluminous and cozy pieces, ideal for decorating environments or for use as blankets and blankets.
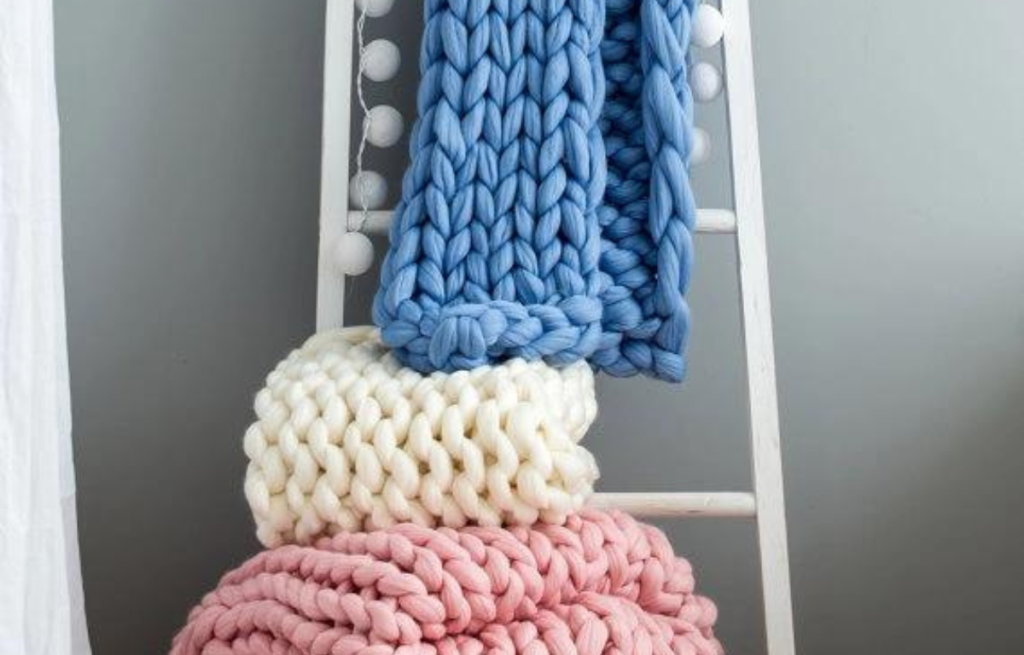
The giant knitting, or Maxi Crochê, fever began to spread with the emergence of blogs, tutorials and social media profiles that taught the technique and showcased creative and beautiful pieces, attracting many followers and admirers. Giant knitting has also become popular among DIY enthusiasts, who see the technique as a way to create unique and personalized pieces to decorate their homes or give as gifts to friends and family.
Now that you've been introduced to the giant knitting technique, or maxi crochet as some people call it, of course you won't want to miss out.
Shall we learn how to do it?
Follow our tutorial below and you will certainly have produced an incredible piece for your home in no time.

Start by sitting on a table or other flat surface with the ball of yarn or material of your choice in front of you and the end of the yarn extended toward you. Tie a slip knot about 15 cm from the end of the thread. The slipknot loop must be the same size as all other stitches (loops). I like to use my hand to keep the ties all the same size, so I pulled my slipknot until three fingers fit inside it, which makes it a little over 2 inches. If you want to make your ties bigger or smaller, you can measure your ties or use a piece of cardboard to check the size of the first few rows until you can keep things even without checking.
For the first row of the blanket, you will create a chain. Reach into the loop you just created and grab the working yarn. Pull it through the first loop to create the second loop of the same size (use your hand to check the size of the loop). Then pull the working yarn through this second loop to create a third loop. Continue pulling loops and adding to your chain until it is the width you would like the finished blanket to be. Then make one more loop.
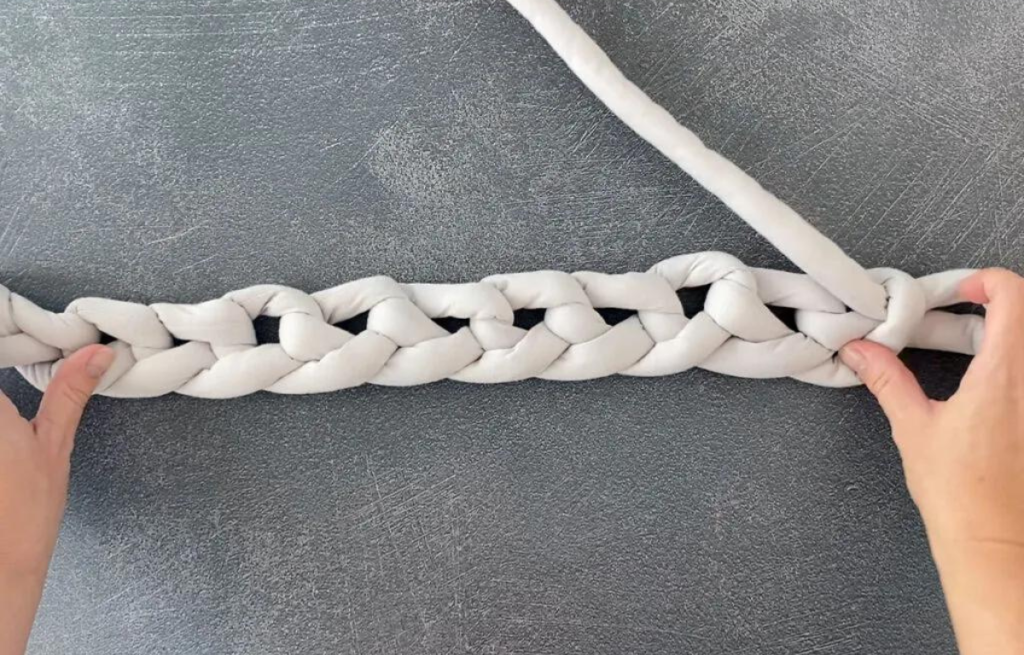
Remember to keep the ties the same size. For a thick blanket, I use three finger widths as a way to keep my ties a uniform size (just over two inches). When pulling on a new loop, I slide three fingers inside the loop to check the size – if my hand fits perfectly, I know it's correct. For the first few rows, it's helpful to quickly check the size of each loop to make sure they are even.
Start the second line
Now you will begin creating knit stitches, which is the simple stitch you will repeat to hand knit the entire blanket. You're ready to begin your first row, working to the left. Each time you start a new row, you will skip the first loop, which is the last one you just made. This gives you a more finished edge on each side of the blanket.
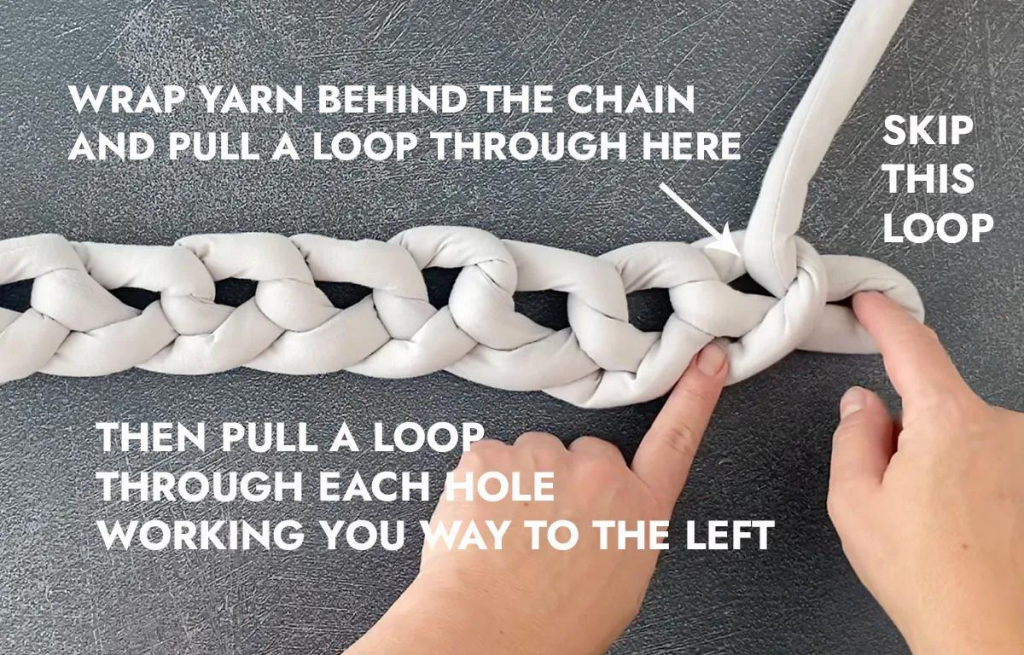
Look at the chain you just made and find the hole inside each loop (remember you are skipping the first loop, which is the last “extra” loop you just made). Pull the working yarn from the back through the 2nd hole/loop from the right and pull it up to create a vertical loop. Again, use your hand to check the size of this loop. (If your chain starts to unravel, you are trying to pull the working thread through the chain from the front. Make sure you pull it from the back.)
Continue Knit Stitching
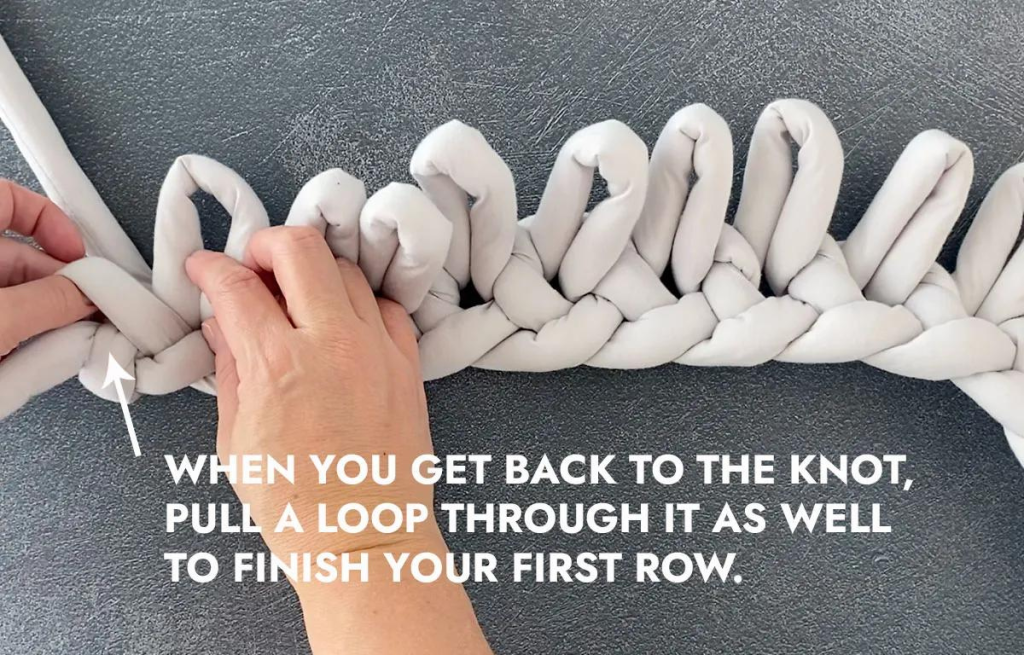
Continue pulling yarn from the back through each loop in your chain, creating vertical loops that are all the same size. When you get to the end, make a loop (knit stitch) through the very last hole, and then also through the knot itself.
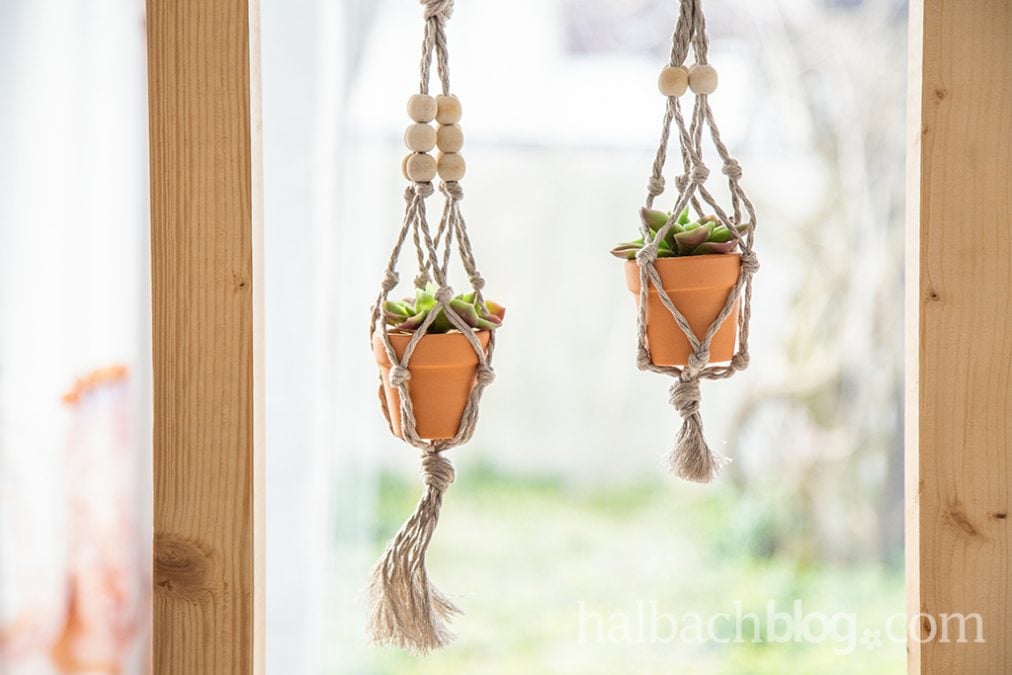
Mini Macrame Pot Holder
How to decorate your home with charm and exclusivity by incorporating macramé into your decor
Then it's time to start the same process, going back to the right. Again, remember to skip the first loop in the row, which is the last loop you just made. Make the first knit stitch going right into the second loop and continue until you reach the end of the row. At the end of the row, pull the skipped loop from the first row and make a loop in it.
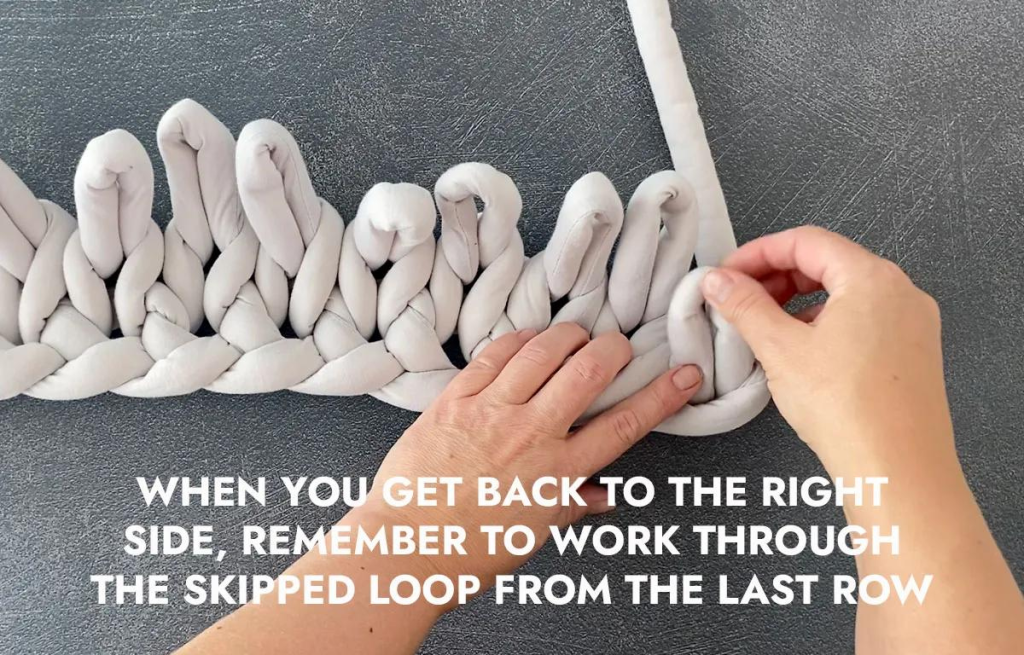
Then skip the loop you just made and continue knitting to the left. Whenever you reach the end of a row, you will sew the skipped loop from the previous row. Every time you start going in a new direction, you will skip the last loop you just did. This gives the sides of your blanket a braided finish.
Joining a new thread
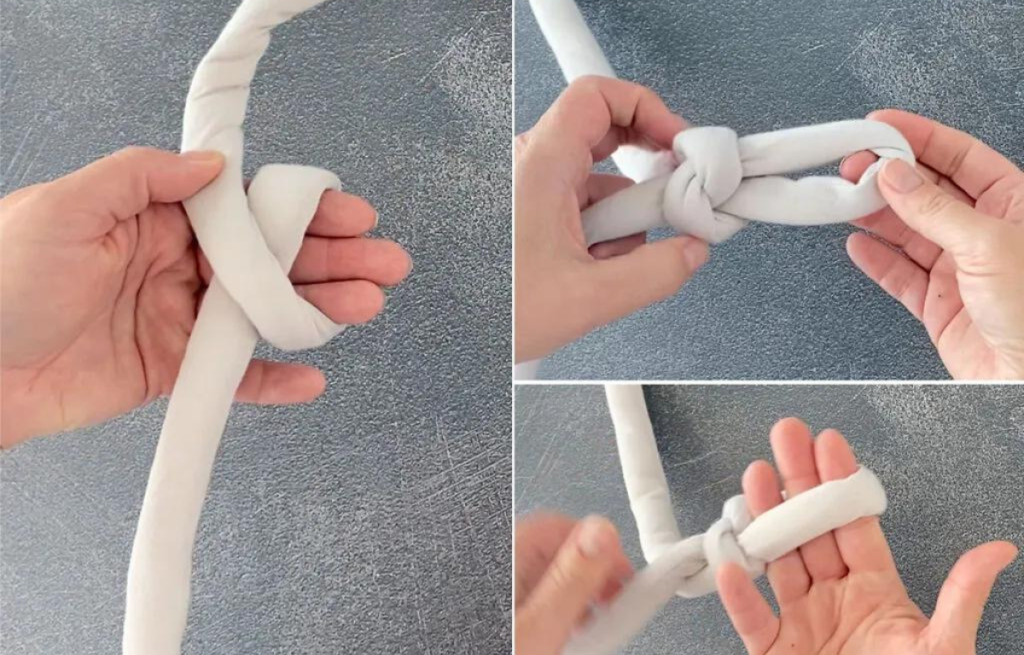
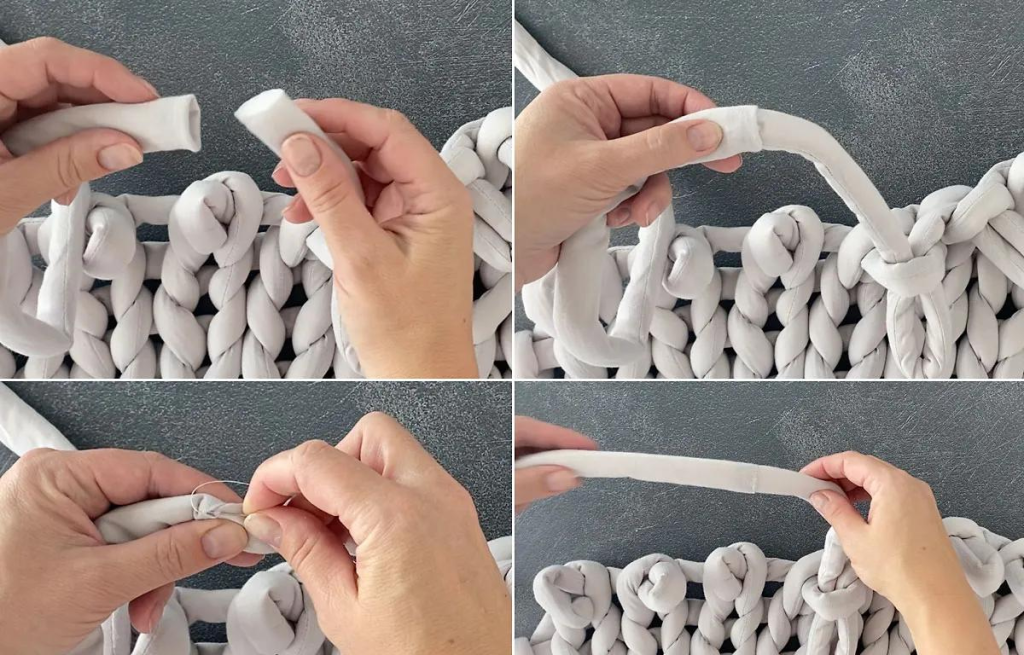
If you are using balls of yarn instead of one long piece, you will need to join them together. If you are using thick chenille yarn, simply tie the new piece of yarn and the old piece of yarn into a double knot. Pull the knot tightly and cut off the excess. However, if you are using tube thread, you must quickly sew the two pieces of thread together.
Pull the wrapper off the new piece of yarn and cut off about an inch of the polyester batting. Then turn the wrapper inward to create a clean edge. Stuff the end of the old thread inside the casing for the new thread, then use a needle and thread to quickly hand stitch the two pieces of thread together. Don't worry about making it look perfect; Once the blanket is ready, no one will be able to find the place where you attached a new ball of yarn.
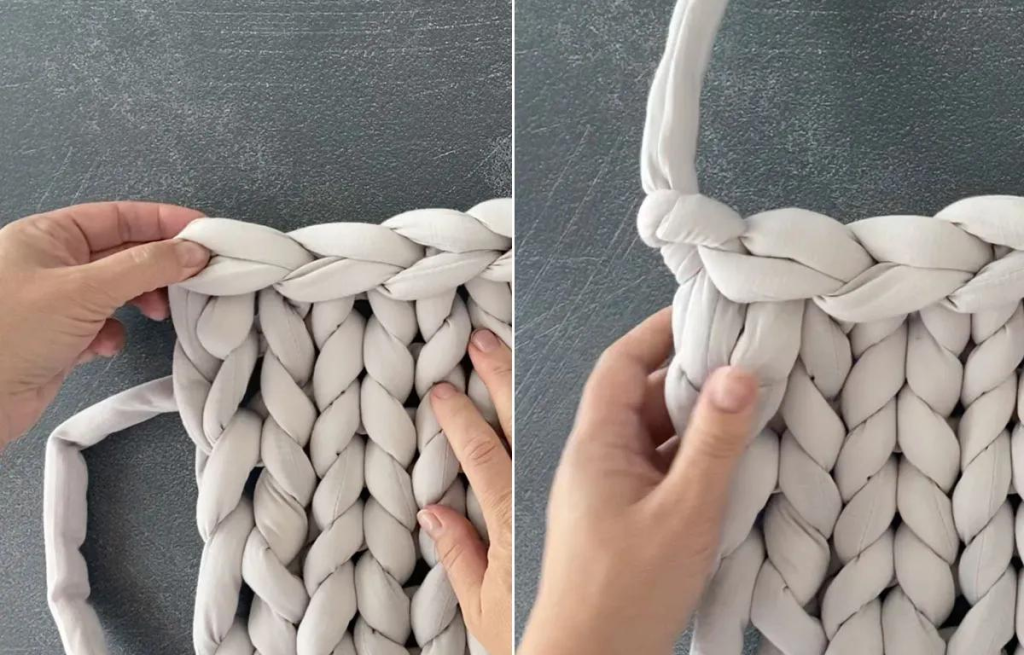
When the blanket reaches the desired length, it's time to tie it. Make all the loops in your last row a little longer/looser than the other loops on your blanket. Finish the last row and cut off the excess yarn leaving a 12 inch tail. Go to the other side of the blanket to finish (if the tail is on the left side of the blanket, go to the right side). Take loop 2 and pass it through loop 1, which is the “skipped” loop in the row below. Then thread loop 3 into loop 2, then loop 4 into loop 3, and so on. This continues the braided effect on the sides of the blanket.

When you return to the end, overlap the last loop with the loop you skipped from the previous row and pass the tip through both. Use the tail to tie a knot and pull to secure it.
Protecting the ends
At this point there will be a loose end at the beginning and end of your blanket. The last step is to hide and protect these ends. Some people recommend weaving the ends together and hiding them inside the blanket. However, I find that if you just weave them together, they always come back out. So I recommend weaving them together and then using a matching needle and thread to sew them in place.
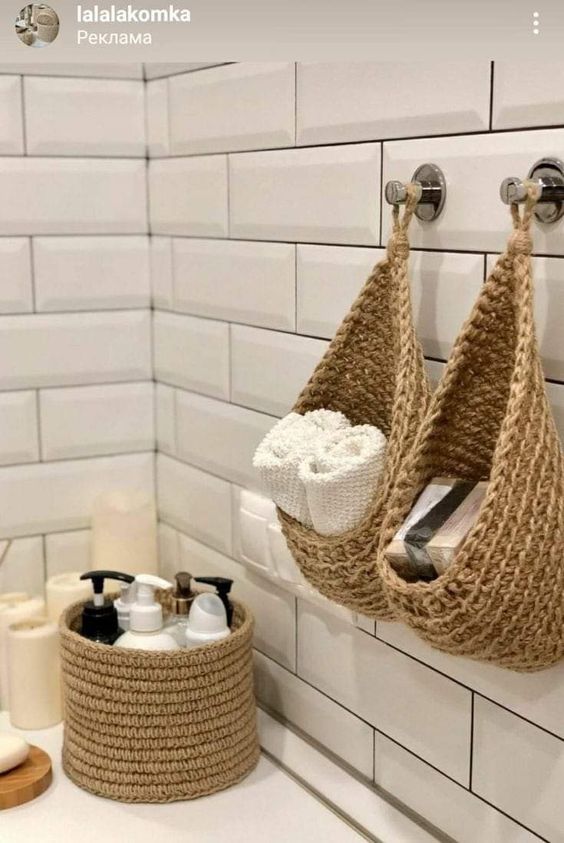
Crochet for home - multipurpose basket
Crochet is back with everything and including a beautiful piece made by yourself in your home decor will make your home more beautiful and cozy


Tutorial:itsalwaysautumn
Trending Topics
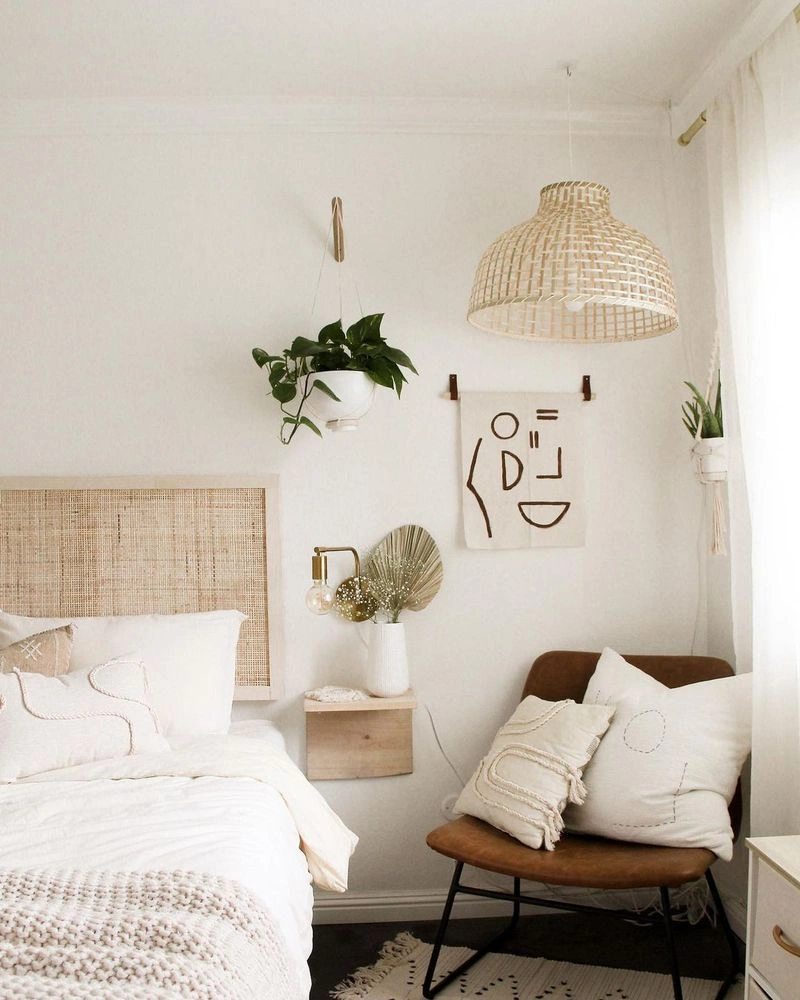
Beautiful and Functional Simple Bedroom
You don't need to have much to create a welcoming and special environment. With creativity and care, a simple room can transform into a true refuge to recharge your energy and feel at peace.
Continue lendo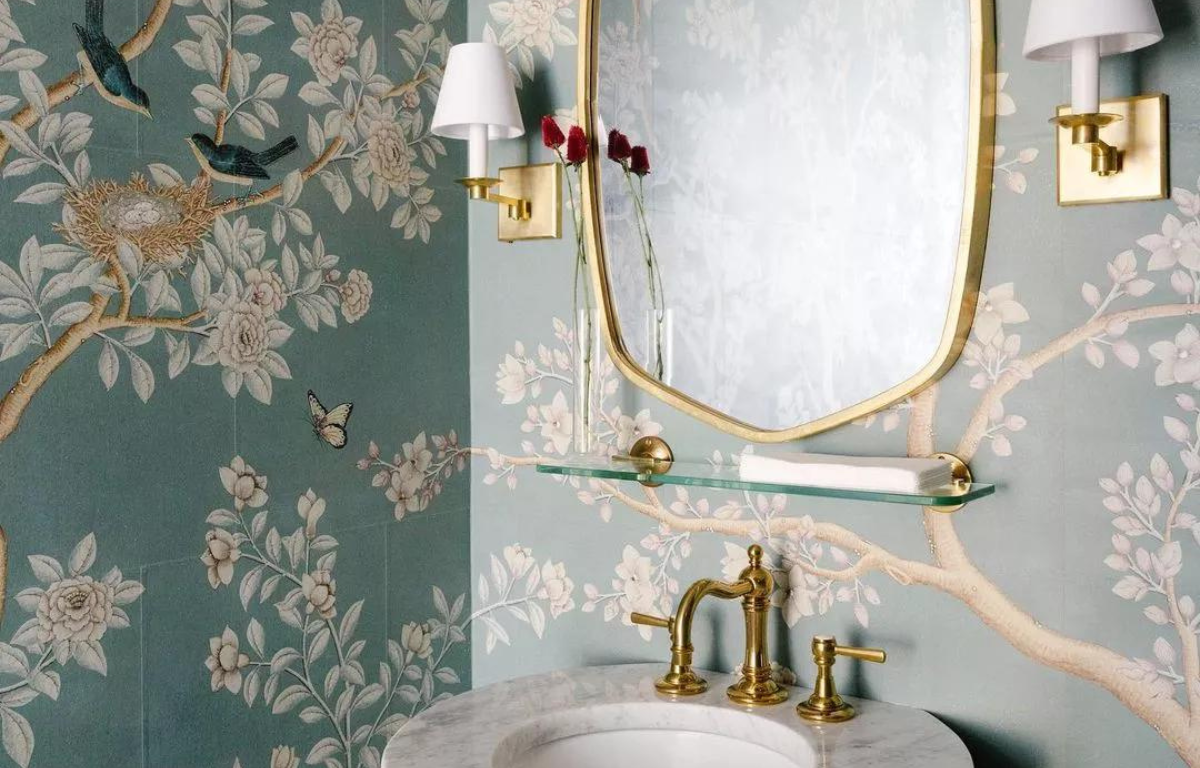
Wallpaper Tips for the Bathroom
Wallpaper can be an excellent option to decorate the bathroom, bringing a touch of personality and charm to the room.
Continue lendo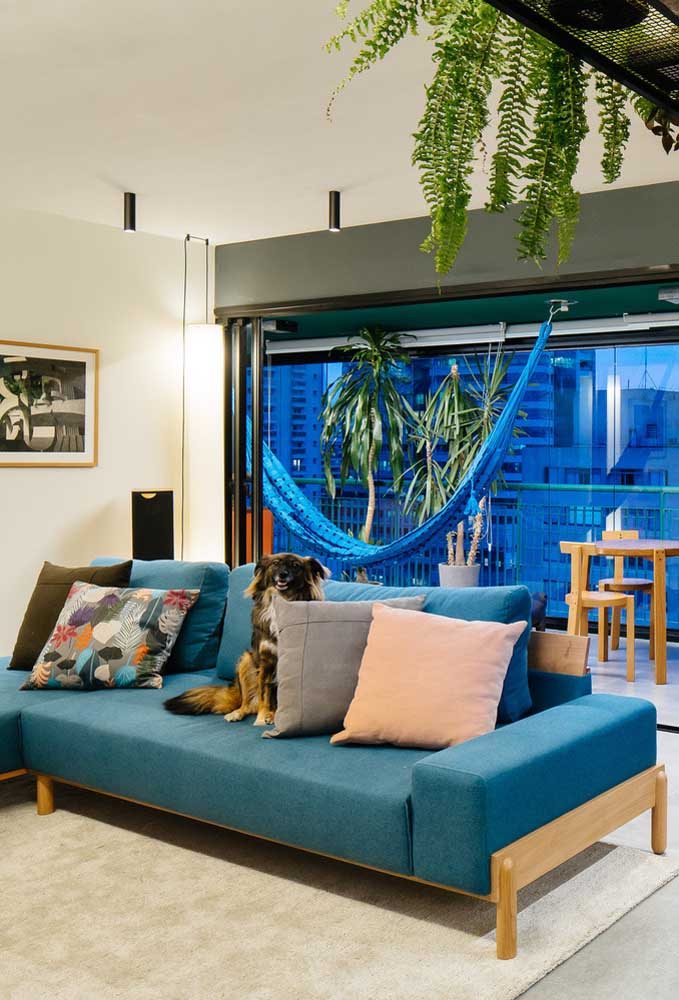
Tips for Decorating a Rented Apartment
Decorating a rental apartment can be a challenge, but there are plenty of ways to make it feel cozy and personalized without making permanent changes.
Continue lendoYou may also like

What's the Best Way to Store Wine at Home?
What's the best way to store wine at home? Did you know that there is a proper way to store your bottle of wine?
Continue lendo
Christian Music Apps: Praise Songs Always at Hand
Listen to praise songs and keep your faith active with the best Christian music apps. Access uplifting content anytime.
Continue lendo
Working at Amazon: vacancies with good conditions and flexibility!
Find out how to get jobs at Amazon in the US as a Latino and Spanish speaker. Fair pay and inclusive benefits.
Continue lendo